Power BI can load data from nearly every system you can dream of. This can be done with a standard connector, custom connector, API, etc. This is also why we can’t cover every data source in this Knowledge Base but of course, we’d like to point out some common and useful data sources to get you going.
In the article about data sources, we showed you how data can be imported from a local Excel file. This scenario is very common when starting off with Power BI or a new report but in the long run, loading from a local Excel file isn’t the best solution as there are a couple of limitations. It’s much better to load from a source that is online 24/7 so the report can be refreshed at all times. In this article, we will show you how to load data from the following list of data sources. We won’t go into detail for each data source, this article should just give an overview of what’s possible:
Web
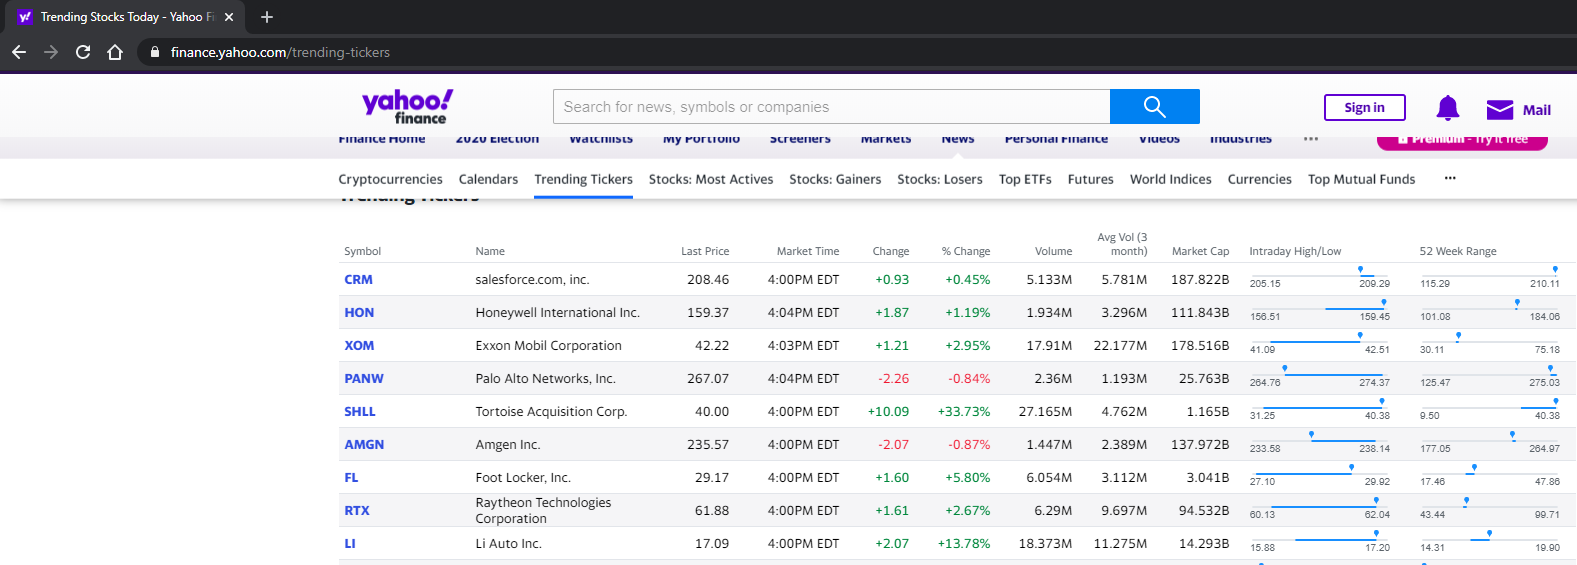
When you load data from a website, it’s best to load from a page that contains a table, as it will make the ETL process much easier. Let’s say you want to load the data from Yahoo finance.
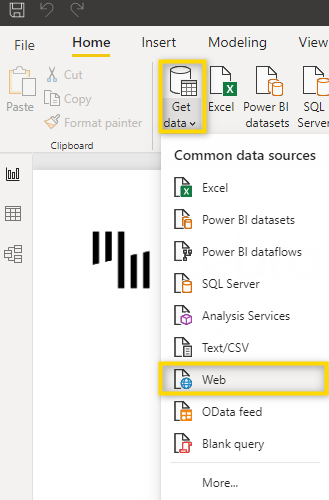
In Power BI Desktop, select Get Data > Web.
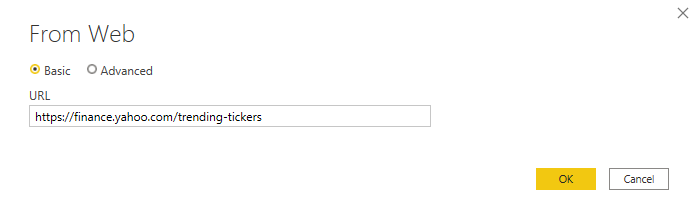
Now you need to enter the URL and confirm with OK.
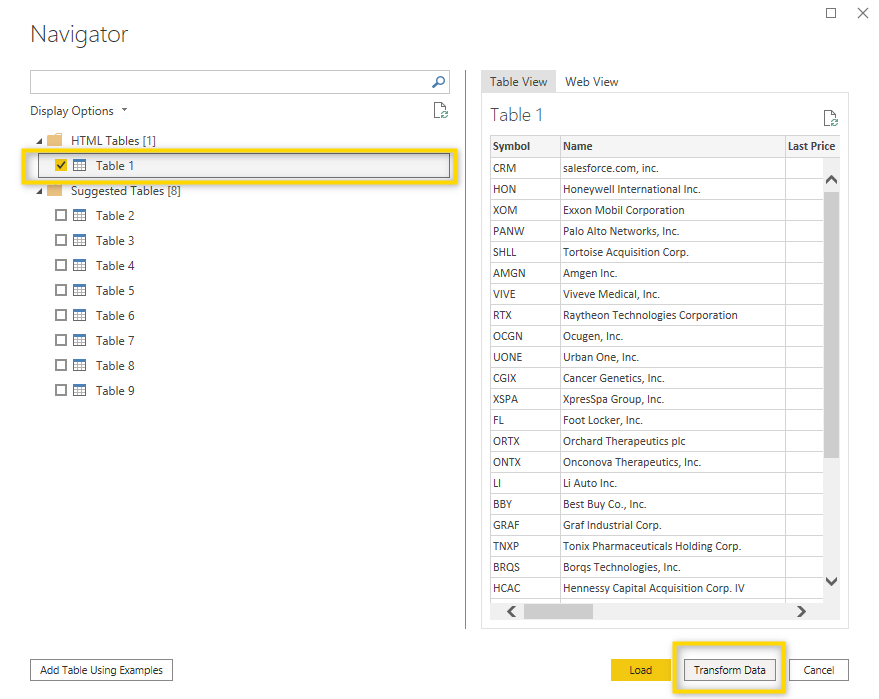
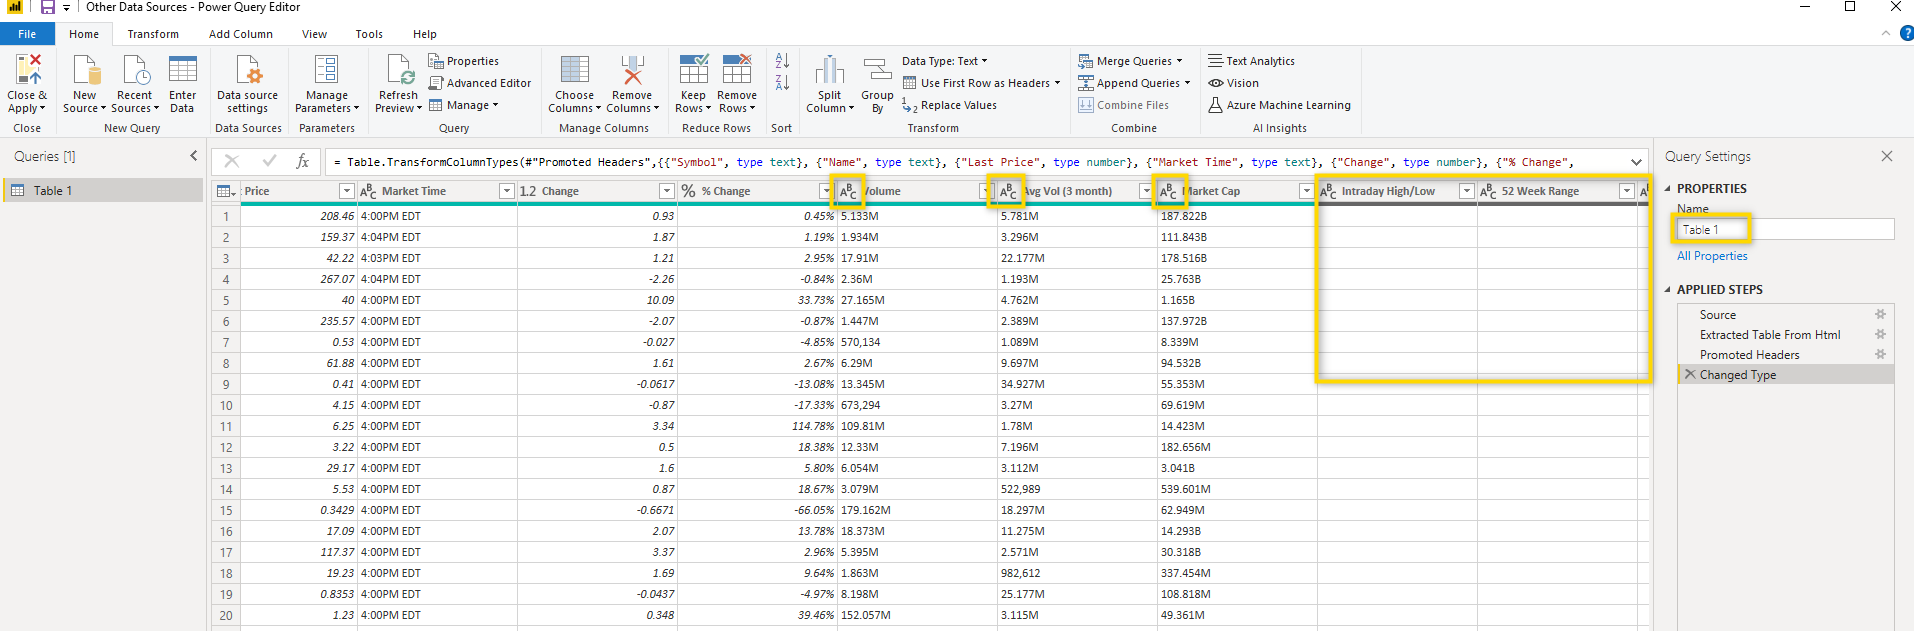
Power BI now scans the website for elements that can be imported. Select the table(s) you would like to import and select Transform Data to open Power Query Editor. You should do this instead of directly loading to Power BI because most Web sources need some transformations.
From the screenshot below you can see that this table needs some work in Power Query Editor. Some data types are not correct, there are empty columns and, of course, the table needs to have a proper name.
Learn how to use Power Query Editor to make these transformations. →
We did some of the transformations in the sample file and now have a report that looks like the one below. All data shown is coming directly from a website and is therefore up to date every time the report is refreshed.
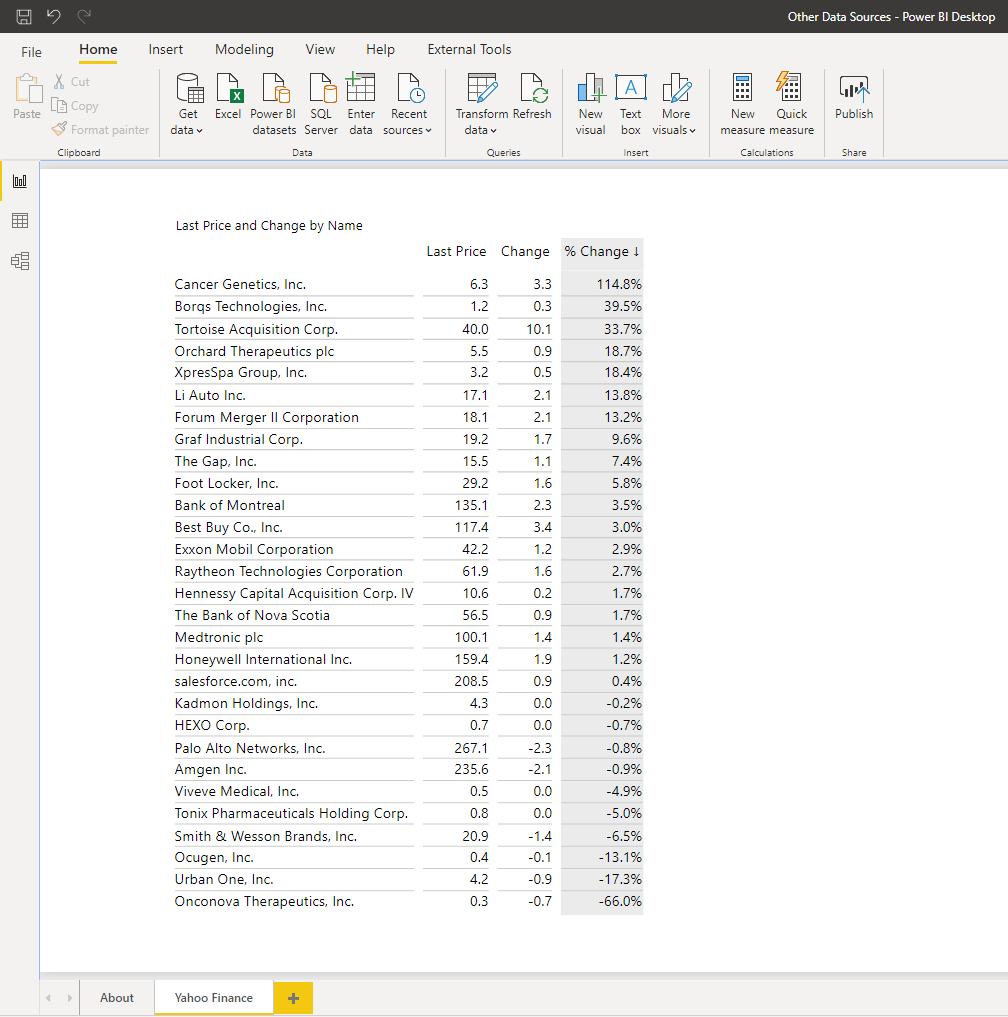
Of course, when downloading data from the web, the load might not work anymore after the website has been restructured.
Sharepoint File
If you have ever loaded data directly from a local Excel file, you may have noticed that data can’t be loaded when the file is open and of course, the data can only be loaded if the local computer is actually running. This is why it is much better to load from files stored in online storage like Sharepoint. So let’s change the data source from a locally saved file to a file on Sharepoint.
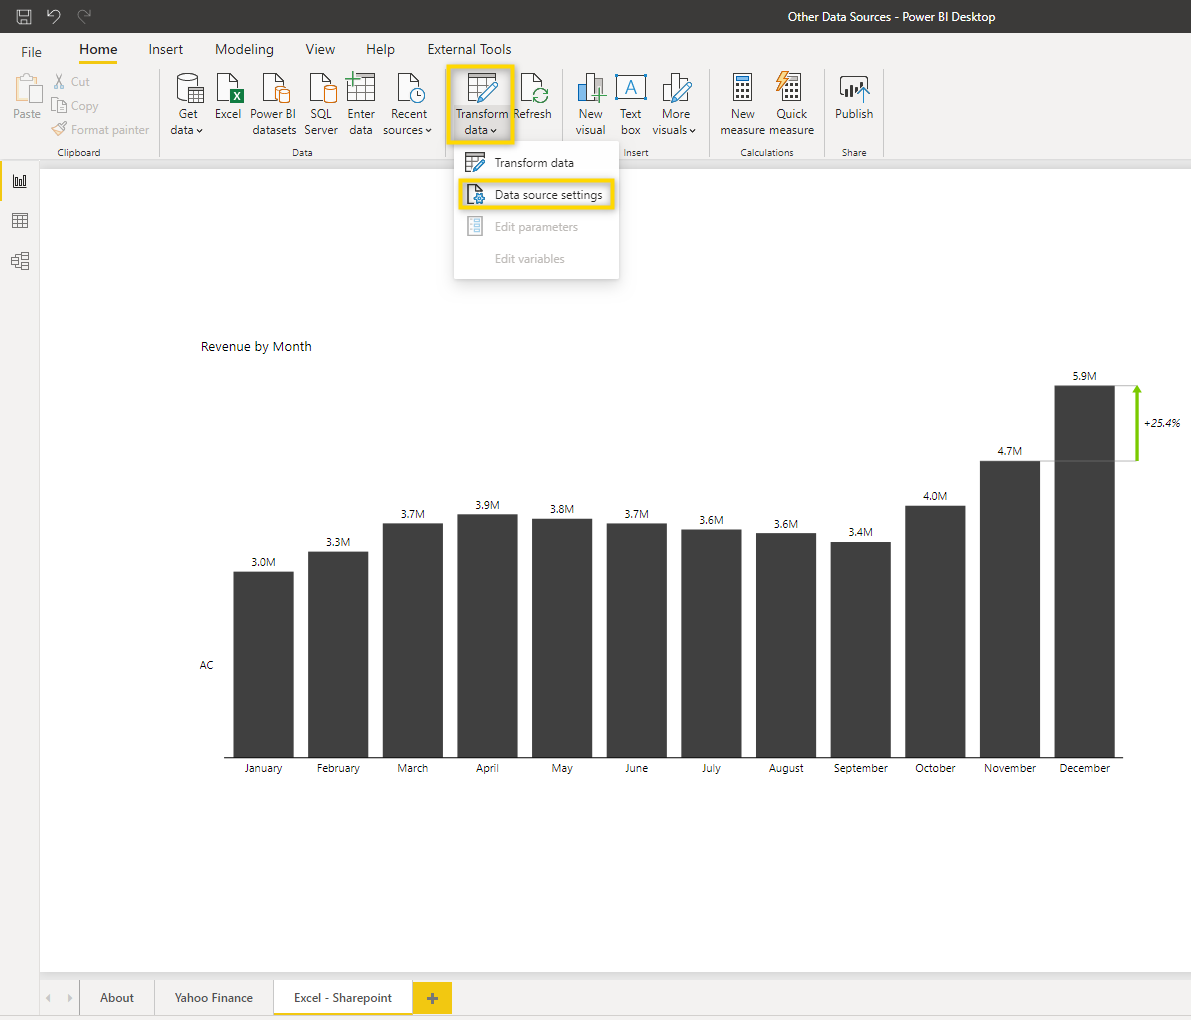
In Power BI Desktop, select Transform data > Data source settings.
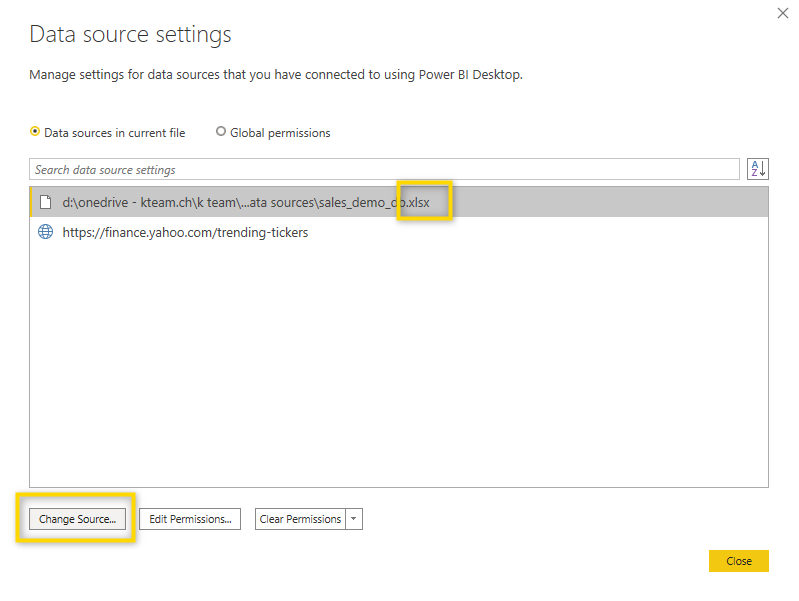
Now you need to select the data source for the locally saved file and click Change Source.
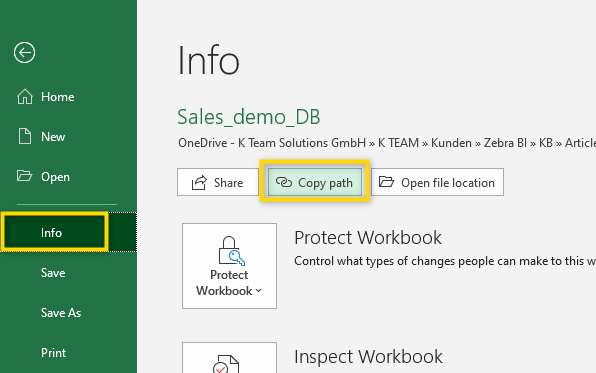
Next, find the URL of the file on Sharepoint. There are different ways to do this but the easiest one is to open the file in Excel and select File > Info > Copy path.
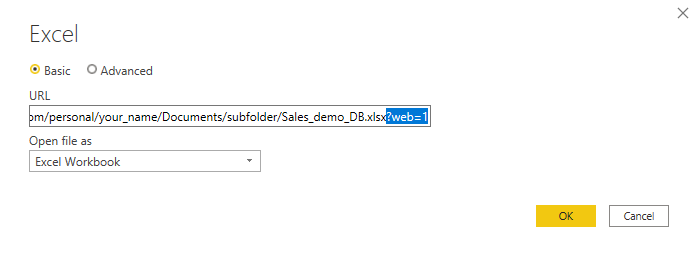
You can then paste the copied path into Power BI Desktop.
⚠️You must delete ?web=1 in order for the link to work.
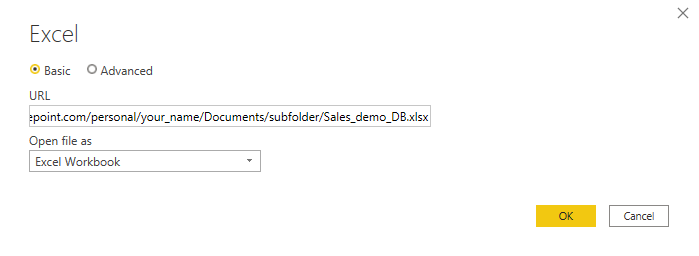
After you have deleted ?web=1 and the URL ends with just xlsx, you can confirm with OK.
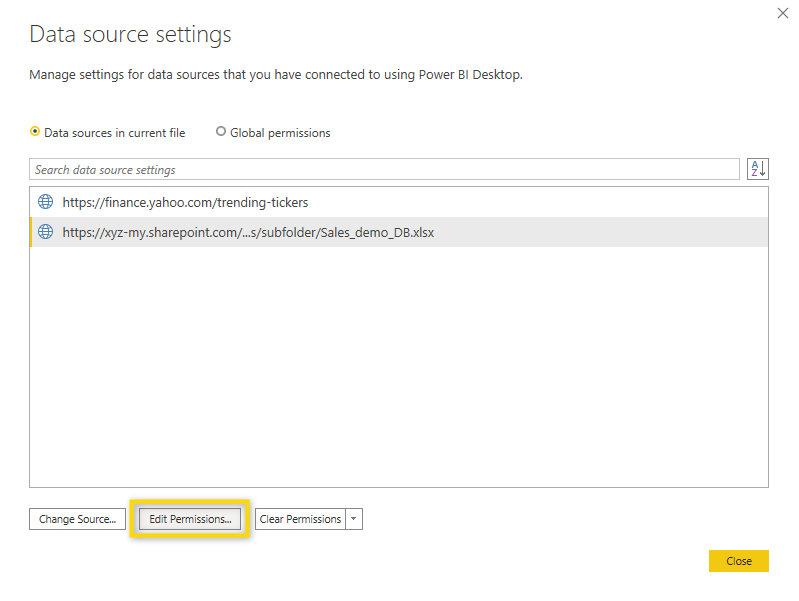
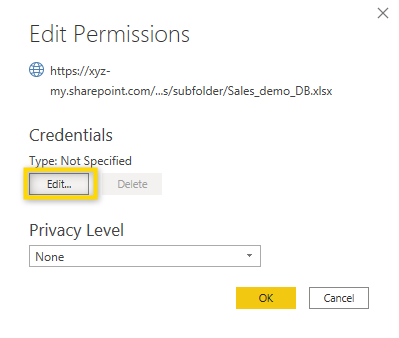
Your data is now loading from Sharepoint. If you haven’t used this data source before, you might have to log in to Sharepoint to be able to load. To do this, select the data source and click Edit Permissions.
Then select Edit Credentials.
The next steps depend on your setup but for most Microsoft 365 users, you need to use an Organizational account, so this is what you select:

Once you’ve clicked Sign in, you will be guided through the login process. Again, depending on security settings, this might look a bit different for each user.
Once you’ve logged in, you can refresh the data from Sharepoint and if you want, even have the file open at the same time.
Note that you will get an error message when you try to refresh the demo report because you don’t have access to the location which was used. You can only use Sharepoint as a data source if you have the appropriate user rights.
SQL, SAP BW, SAP HANA, etc.
There are also some data sources for which you need more information about how to load data. When you want to load from a SQL database or from SAP, for example, you need to know the Server name or IP address, and the name of the table, view, or query you want to access. In most cases, you will have to contact your system or database administrator to get this information. Sometimes, it’s even necessary to make some changes in the source system to allow third-party reporting tools like Power BI to load data and install a connector. All this can be managed by an expert in the IT department.
Google Analytics
Loading data from Google Analytics is very interesting if you want to track the traffic on your website. But basically, this part of the article is only a placeholder for many other data sources because the setup is very similar for many online services. In most cases, you need to know an URL, an access or API key, and your credentials and you are good to go to access the data in Power BI.
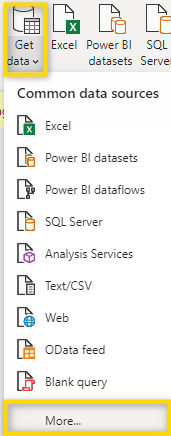
To load data from Google Analytics, select get data > more.
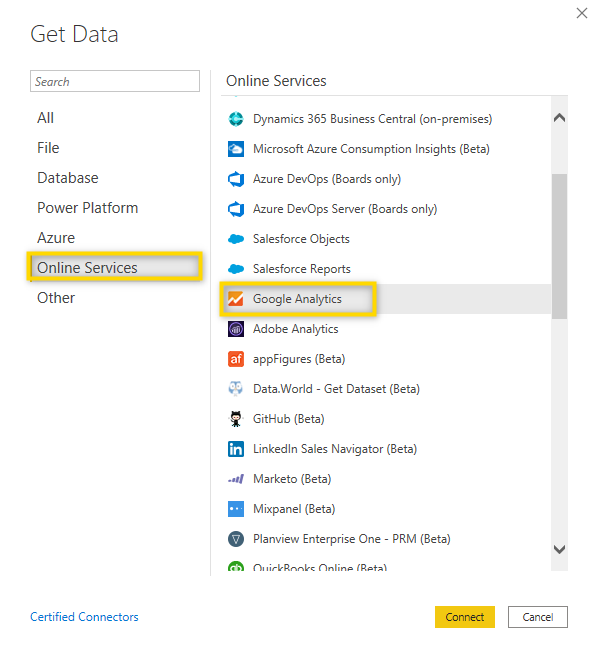
Now select Google Analytics from Online Services.
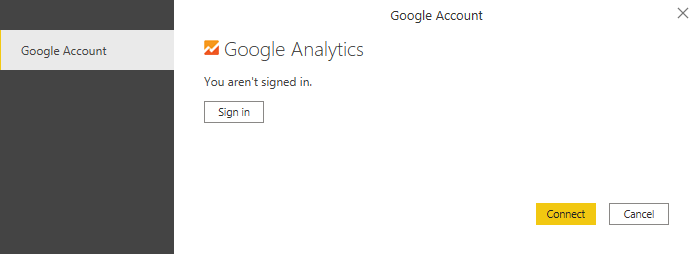
Sign in by using the login credentials you are normally using to access Google Analytics.
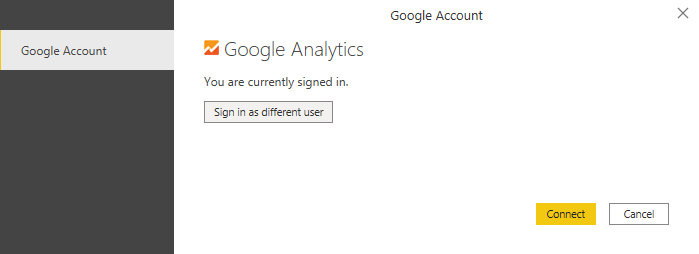
Once you are signed in, select Connect.
You now have access to all the different tables and measures which are available from Google Analytics. After you have selected the elements you need for the report, click Load to load them directly into the report or select Transform Data to open up Power Query Editor and make the necessary transformations.
Since you don’t have access to our Google Analytics account, you won’t be able to refresh the sample report. But just log in with your own user name and you will be able to refresh the report.
Folder
Assuming you are loading your monthly sales data from an Excel or CSV file into Power BI, you have one source file per month, a year, or any other granularity…
Of course, you could manually add a new data source every time there is a new file but there is an easier way. As long as all the source files have the same structure (same columns) and are stored in the same folder, you can simply define this folder as the data source. This means that whenever a new file is saved in this folder and the report is refreshed, the data from the new file is added to the report.
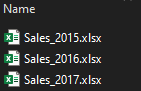
So in our sample, we have sales data per year. All the files have the same column structure and are saved in the same folder.
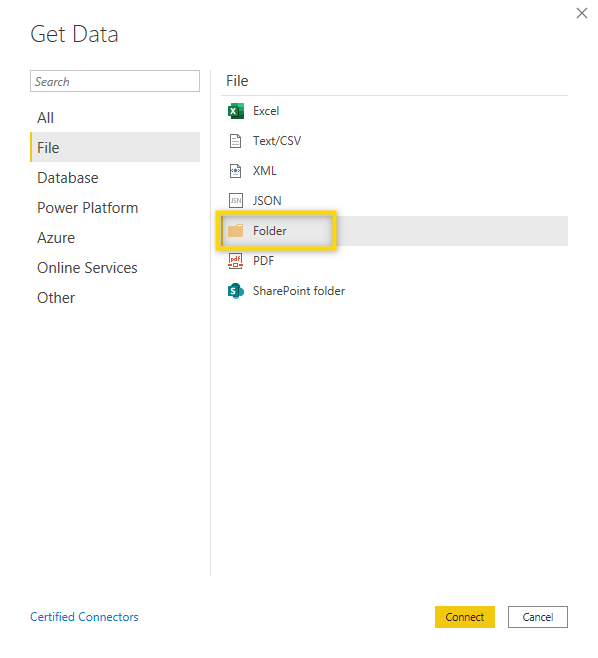
To load all these files at the same time, select Get data > more and then File > Folder.
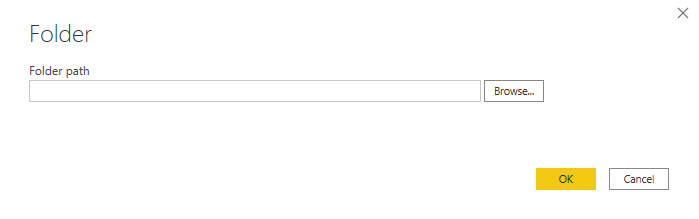
Then, select Browse and navigate to the folder which contains the files. Once selected, confirm with OK.
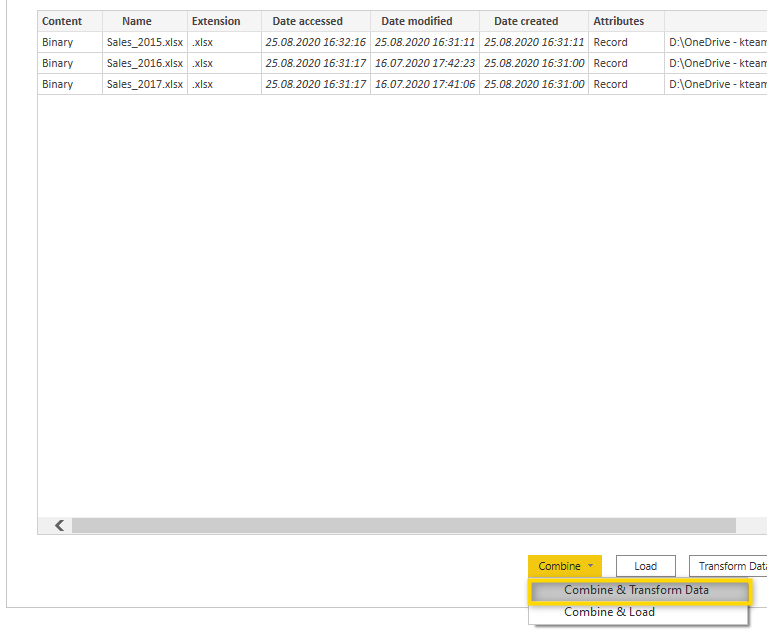
In the next window, you will see a list of the files in the specific folder. Make sure to only have files that should be imported in this folder. Now select Combine & Transform Data.
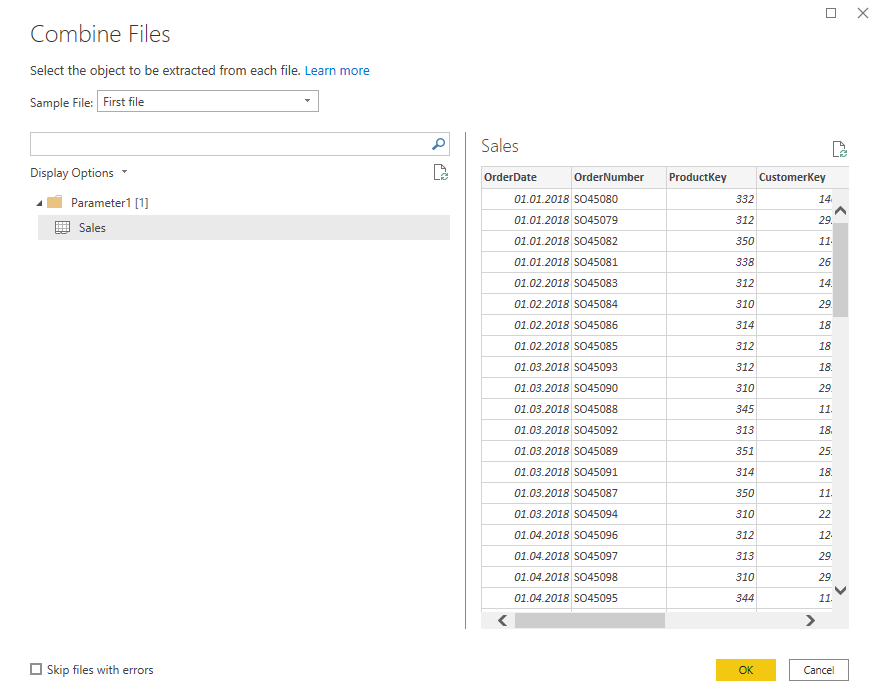
Now you need to select which object is to be loaded from each file. In our case, the files only contain one worksheet called Sales so that’s also what needs to be selected.
After you have clicked OK, Power Query Editor will open and you will see that additional queries are added. The main query which contains the data from all the files in the folder is called Sales and actually also contains a column that indicates the name of the source file.
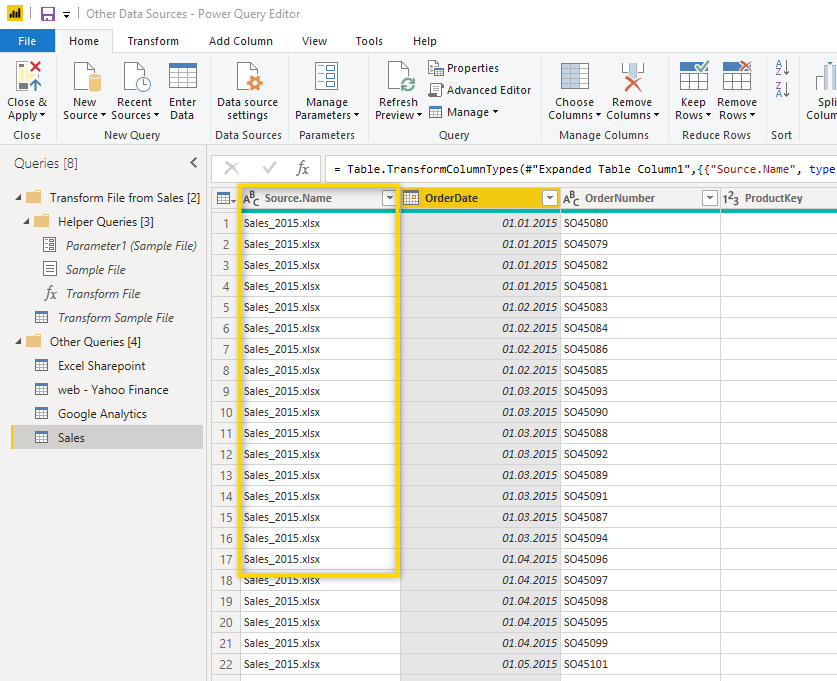
Whenever you load files from a folder, Help Queries are automatically added. These help queries are needed for the load and in most cases, you don’t need to do anything with them and can ignore them.

This data source option is very useful, especially if you don’t have a file per year but per month, week, or even day and you don’t want to add a new data source every time a new file is saved.
CSV
Importing from a CSV file (A file with comma-separated values) is used a lot in cases where the source system isn’t accessed directly by Power BI but data is exported first and then imported into Power BI. Many software solutions export data in CSV format.
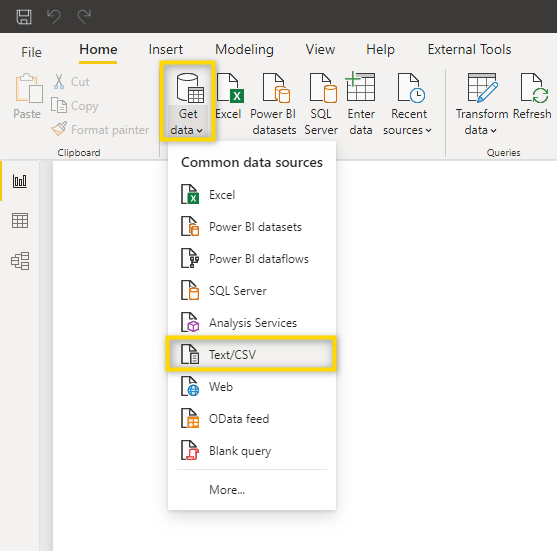
To import data from CSV, select Get data > Text/CSV.
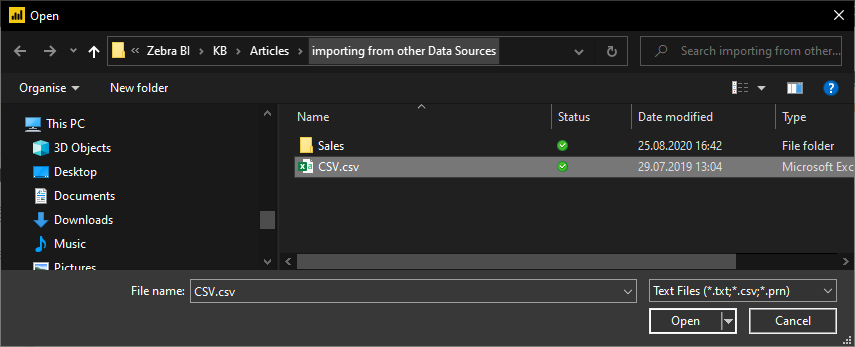
Then navigate to the CSV file and confirm with Open
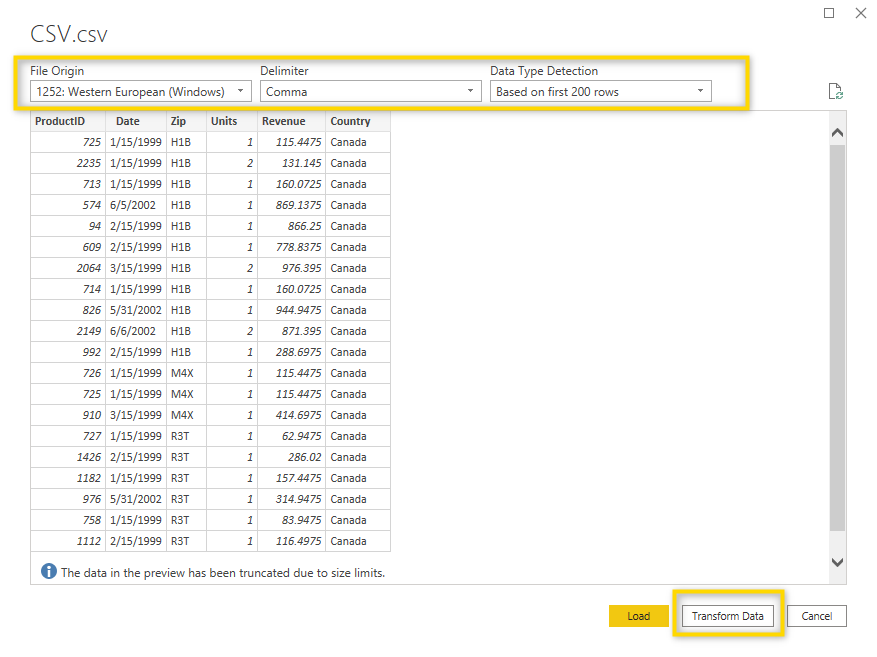
CSV files can come in different formats depending on the File Origin, Delimiter used, etc. Power BI will try to find the best settings for your file depending on the content of the file. In most cases, these settings are correct but in case you need to change them, you can do so on the next screen. Once the shown data preview looks correct, it’s best to first load to Power Query Editor in case some adjustments and transformations are needed. To do this, select Transform Data.
Once you are in Power Query Editor, you can clean up the data in case this is needed. Discover more about Power Query Editor.