In Power Query (PQ), you take care of all your ETL (Extract, Transform, and Load) needs. Since you can do very complex stuff in Power Query, it’s important to follow a couple of best practice rules to keep everything neat and organized.
We suggest that you follow the points below at all times and try to have your PQ nicely organized at all times.
Rename Query
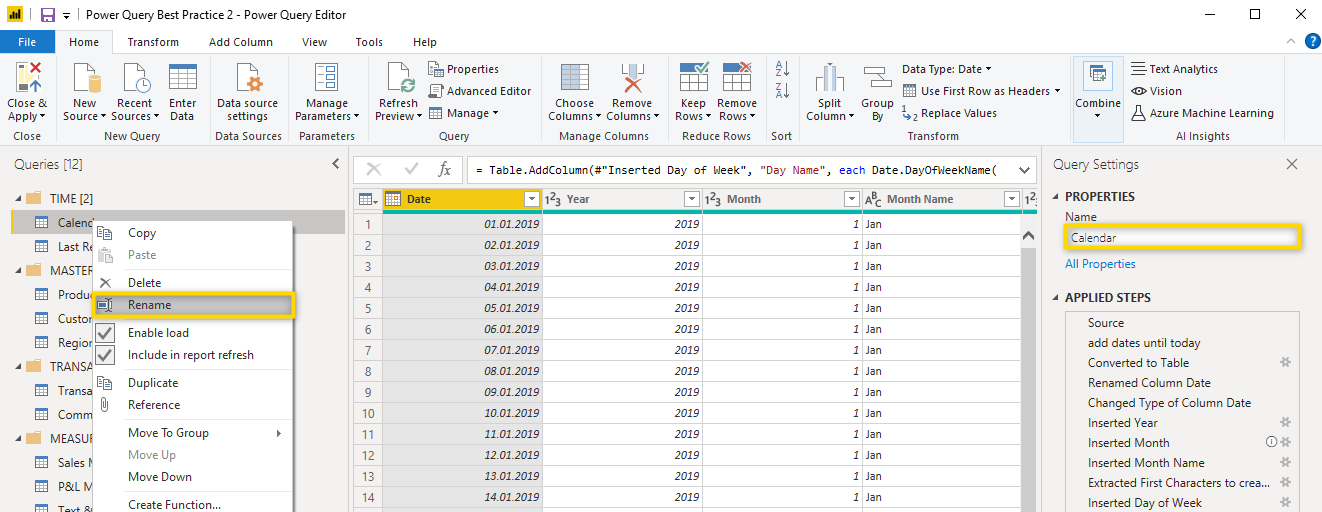
When you load a new source into Power Query Editor, a name is automatically assigned to the Query. In most cases, you will need to change this name to make it easy for you to find it again. You can rename a query directly in Power Query Editor by just typing a new name into the Name field or by right-clicking the query, selecting rename and then type in the new name.
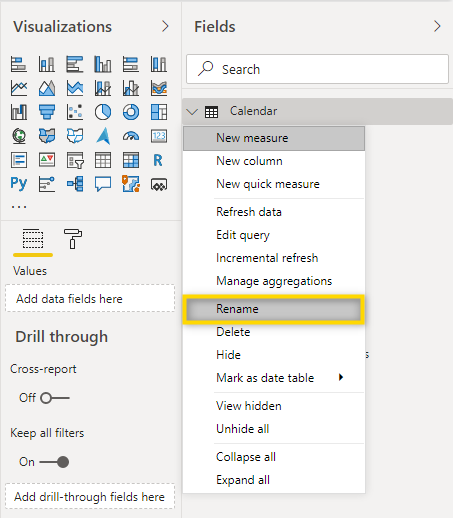
But in case you don’t have Power Query editor open, you can also rename a query from Power BI Desktop by right-clicking it and select rename.
Rename Columns
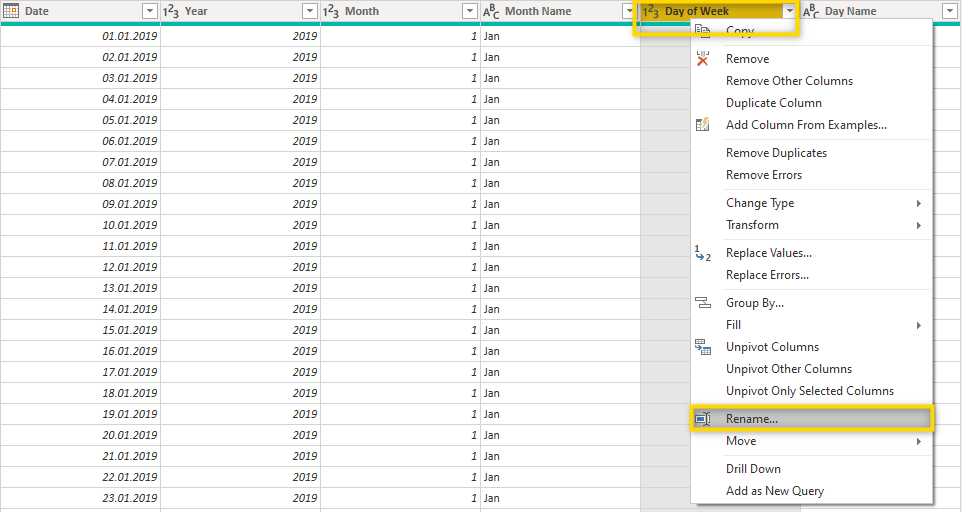
When you work with Power BI it’s important that you know your data model. One way to assure this is to have properly named columns so you know exactly what they refer to. Let’s look at the Calendar table as an example. You can see that every column describes exactly what it shows in a way that it’s easy to understand for the user. This is a step you want to perform for every table in every report as it will make things much easier. You can rename a column by double-clicking it or right-click and select rename.
Check Data Types
In Power Query Editor, every column has a data type assigned. The available data types are shown in the screenshot below:
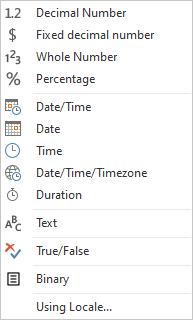
When you import data for the first time, Power Query will try to assign the correct data type to every column but this doesn’t work in all cases so it’s important that you check the data type of every table before you actually start to create a report. You can change the data type by selecting the symbol for the currently assigned data type of a column and then simply select the new data type from the list.

Naming applied steps
Sooner or later you will have to change an existing query and it might be a while after you have initially created it. Having all the applied steps properly named is essential and will make your life easier.
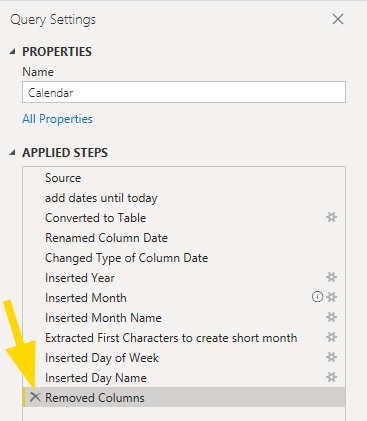
This is a sample of a query in which all steps are properly named.
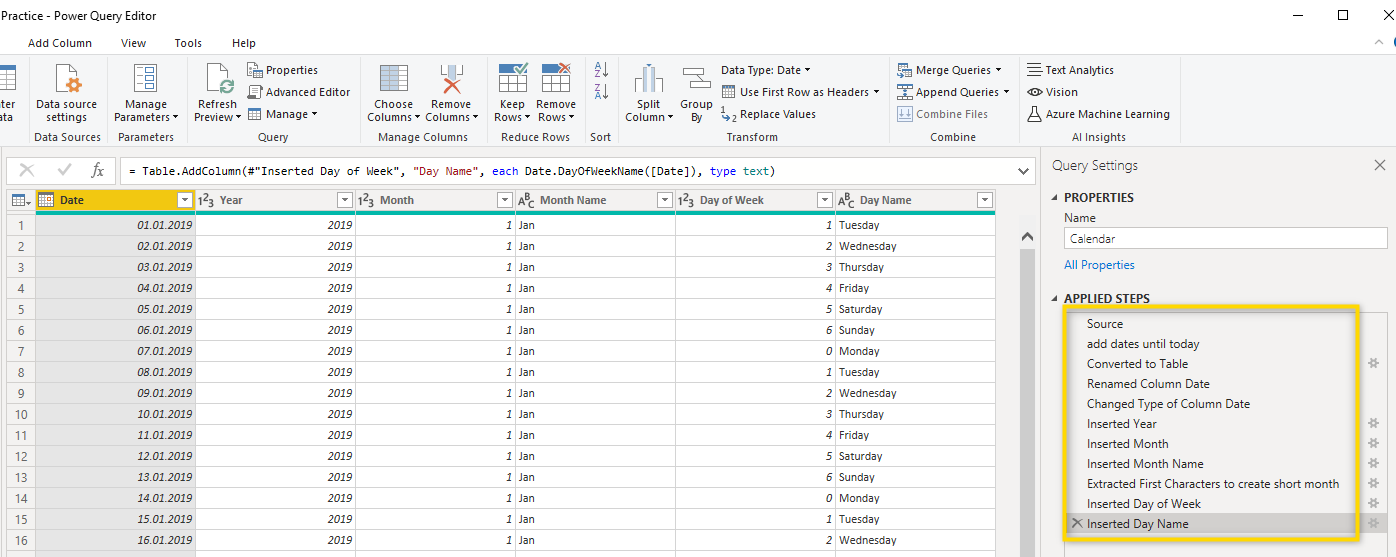
Each step has been manually renamed so in the future you will still know what each step is doing which will make it much easier to identify the step you want to manipulate.
This query delivers exactly the same result as the one above but the steps are not properly named.
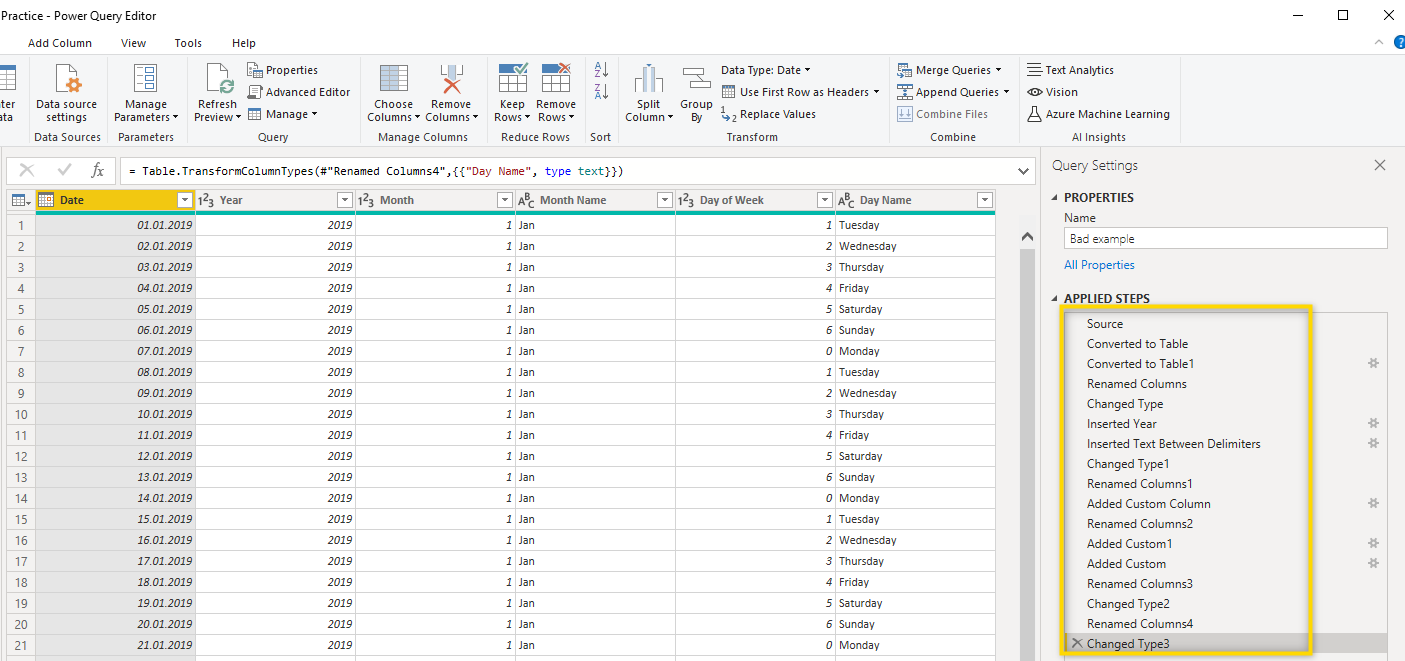
In this sample, the default naming has not been changed. You can see that there are multiple steps that change the type of or rename a column and it’s impossible to know from the description which column the steps refer to.
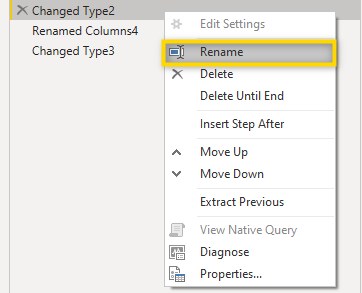
What we suggest for naming steps is to simply write down what the step is doing in non-technical terms. To rename a step, right-click it and select Rename.
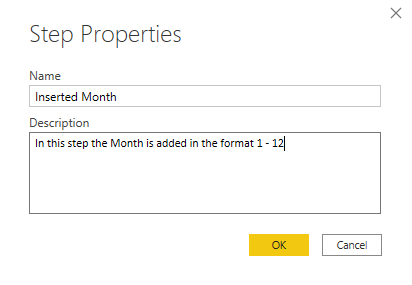
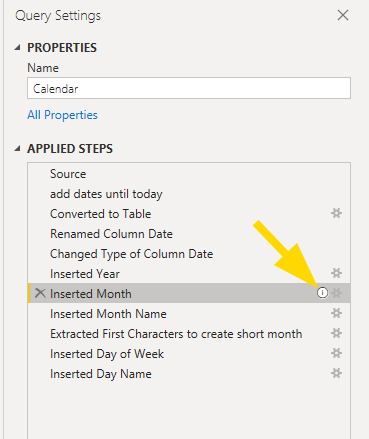
⚠️ Hint: Sometimes you might want to add an additional description to a step. To do this, right-click the step and select Properties.
Then add the description so you and also other users will know what this step is about.
Steps that contain a description are indicated with a specific icon.
Organize Queries in Groups
Most Power BI reports contain a number of tables and queries so it’s important to keep them organized. In Power Query, you can create groups and assign the queries to them. Essentially, you want Power Query to look something like this:
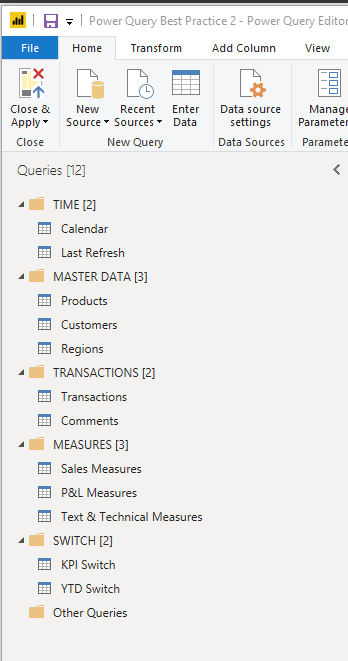
In this sample, you can see that we created five groups and assigned each query to one of the groups. This leaves the group Other Queries empty (The number in brackets states how many queries are included in the respective group).
To create a group, right-click the query that you want to assign to the new group and select Move to Group > New Group.
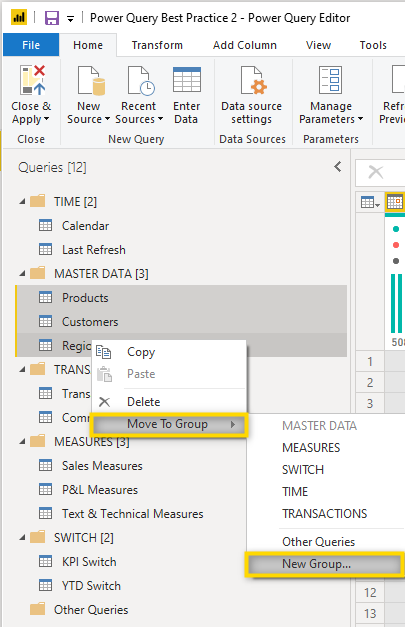
In the Move to Group menu you also see the already existing groups and can assign the queries to one of them. If you want to create a new group, this window will open.
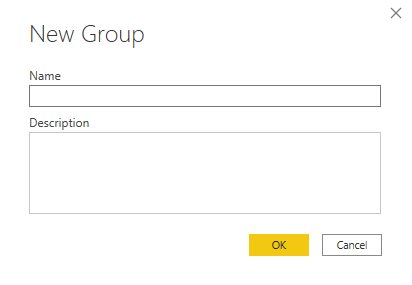
Give a name to the new group and if you like, also a description. When you click OK, the selected queries are added to the group.
⚠️ Hint: You can also use drag and drop to move queries in between groups.
Backup Query before making big changes
Unfortunately, there is no undo button in Power Query so it’s a good idea to backup your query before making a complex (or in the beginning any) change.
There are different ways to do this. One way is to create a copy of the query directly in PQ. To do this, right-click the query and select duplicate.
This is quickly done and will create a copy of the existing query. When you do this, make sure to always rename the copy and uncheck Enable load to avoid this backup query being loaded as a new table in Power BI.

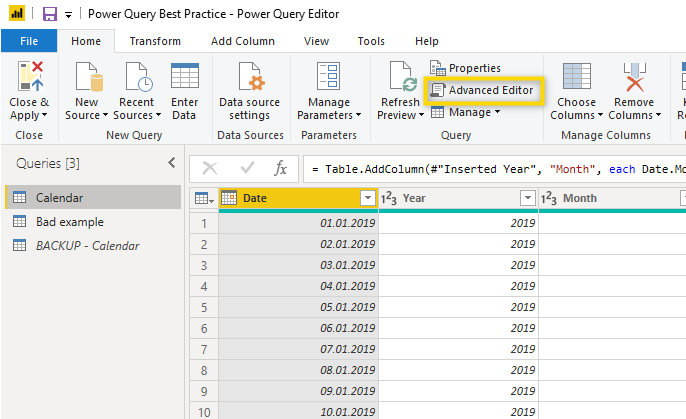
A different option is to copy the M code of the query and paste it into Notepad (or a similar text editor tool). To do that, select the query and open the Advanced editor.
Then select the entire code (Shortcut Ctrl + A) and copy it (Shortcut Ctrl + C).
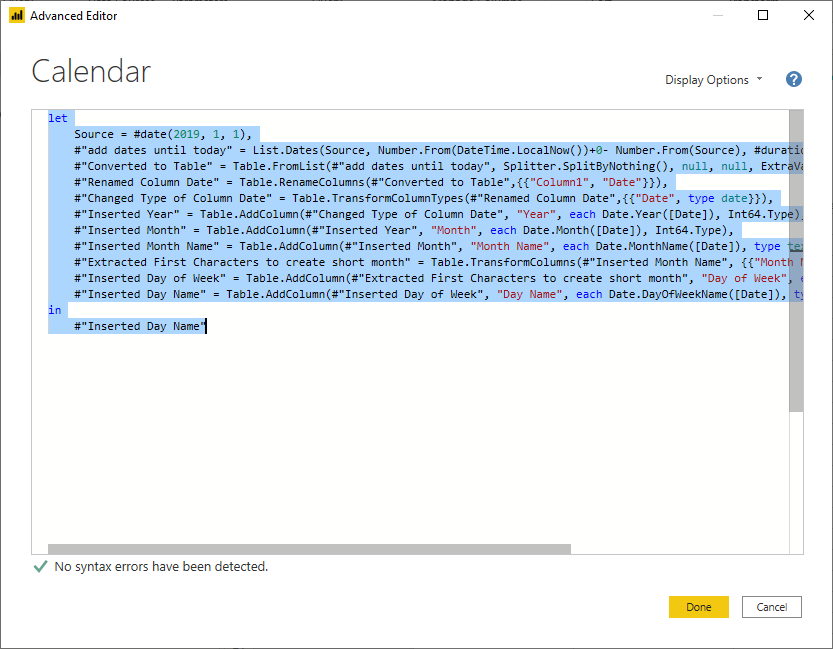
This code contains all the steps of the query and it can be pasted into an external program (such as Notepad).
⚠️ Hint: The quickest way to open notepad is to press WIN and start to type Notepad. Notepad will show up in the Windows start menu and you can open it with the Enter key.

Now you simply paste the M code (Shortcut Ctrl + V).
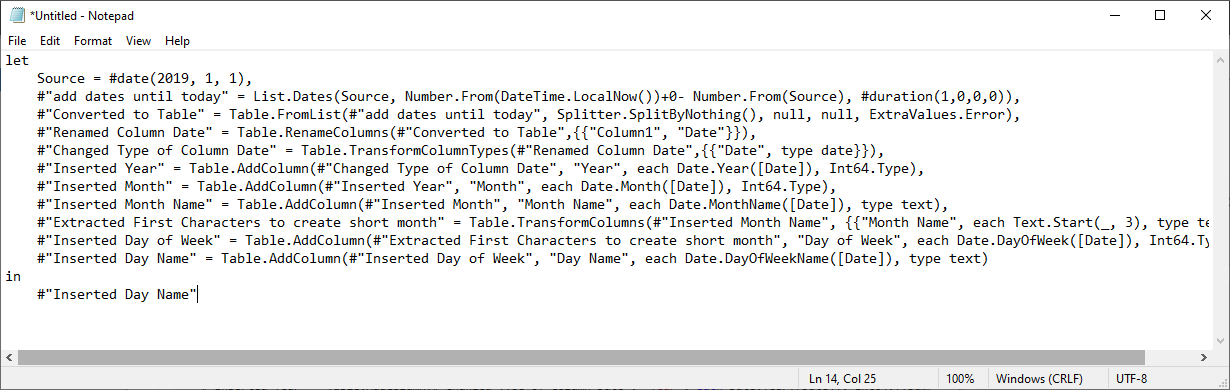
You now have a backup of the query and in case your changes in Power Query don’t lead to the desired result, copy the code from Notepad and paste it into the Advanced Editor in Power Query.
Show formula bar
Even though you might not be very familiar with the M Code of Power Query, it’s still a good idea to have the formula bar visible. The formula bar shows the M Code of each individual step of the query and by having the formula visible, you will get used to M Code, and sooner or later you will be able to make some changes directly in the formula.

Remove unneeded columns
When you create a new report you might not know exactly which columns you will be using in your data model. To make the creation of the report easier and to avoid loading data that is not needed, remove all columns that you don’t need. if you later realize that you need one of the removed columns for the report, simply add it to the model again.
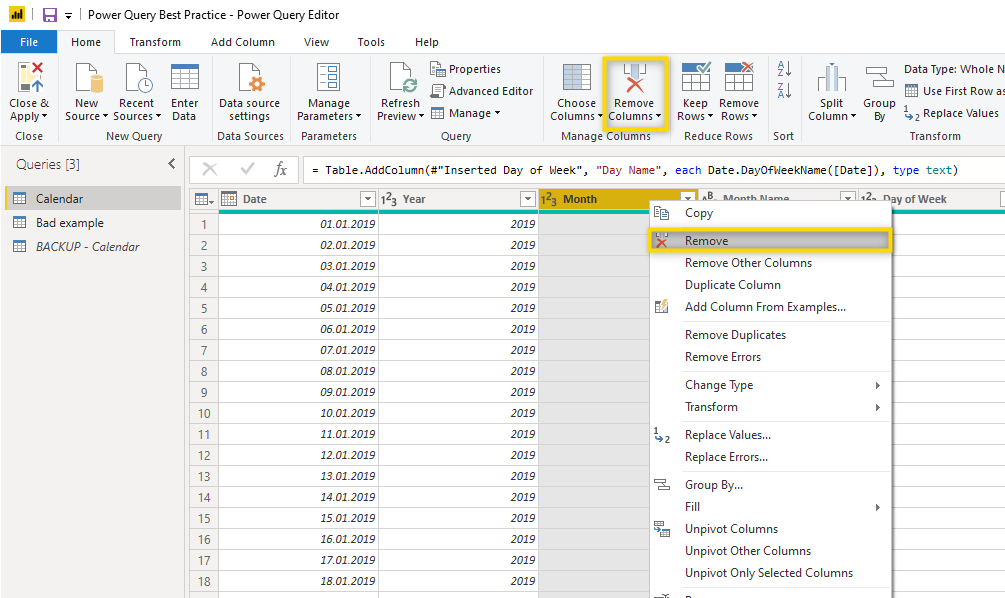
To remove a column, either select it and click Remove Columns in the menu or right-click and then select Remove.
To bring back a previously removed column, just delete the respective step from the applied steps.
Always following these best-practice rules will make your life easier. You might not see this in the first report you build but eventually, you (and your co-workers) will be very glad to see a well-structured set up in Power Query Editor.